

Key Takeaways
- Old or cracked caulk lets in drafts, moisture, and insects, and should be replaced every 5 to 10 years.
- Removing old caulk completely before applying new caulk is the most important prep step.
- Silicone caulk works best for exterior joints; latex caulk is easier to paint and suits interior use.
- A steady, consistent bead and a moistened finger produces a clean, durable seal.
- Caulking is most effective when temperatures are between 40 and 80 degrees Fahrenheit.
What you will need
Why caulk around windows and doors matters
Gaps between window and door frames and the surrounding wall are normal. Wood shifts with seasonal moisture changes, original installation caulk degrades over time, and settling occurs in virtually every structure. The result is small openings that let conditioned air out and outdoor air, moisture, and insects in.
Failing caulk is one of the more common causes of moisture intrusion near window frames. Left unaddressed, water that enters through a gap can migrate behind drywall or siding before any visible staining appears. The warning signs of water damage are often subtle at first, which is why sealing gaps early is worth the effort.
Caulking is also part of a broader weatherproofing effort. If you are preparing for colder months, this task fits into the room-by-room weatherproofing checklist alongside door sweeps, weatherstripping, and attic insulation checks.
Plan to inspect and re-caulk windows and doors roughly every five to ten years, or any time you notice cracking, peeling, or gaps in the existing bead. This task works well alongside other seasonal jobs covered in a quarterly home maintenance schedule.
Choosing the right caulk
Two caulk types cover most window and door applications. Silicone caulk bonds well to glass, metal, and vinyl, resists moisture, and stays flexible through temperature swings. It cannot be painted, so it is best where the color match is acceptable or where it will not be visible. Paintable latex caulk (sometimes called acrylic latex) cleans up with water, accepts paint once cured, and suits interior trim joints or painted exterior wood frames where you want a seamless finish.
For a window that sits between interior trim and drywall, latex is the practical choice. For the exterior joint where the window frame meets siding or brick molding, silicone or a siliconized latex hybrid holds up better against sun, rain, and temperature cycles. Read the tube label to confirm the product is rated for your surface type and location.
Check the label for cure time and temperature
Caulk products vary considerably in how long they need to cure and what temperature range they require during application. Some latex caulks are paintable in two hours; silicone products may need 24 hours or more. Always read the product label before you start so you can plan around weather and your schedule.
Step-by-step application
Work on one window or door at a time. Gather all your tools before you start so you are not rushing back to find something while the caulk skins over.
What you will need
Remove old caulk
Score along both edges of the old bead with a utility knife, then peel it away. For stubborn caulk, apply a caulk remover gel, wait the time specified on the product label, and then scrape. Work carefully on painted surfaces to avoid gouging the trim.
Clean and dry the joint
Wipe the entire joint with isopropyl alcohol or a household cleaner. Remove dust, grease, and any caulk residue. Let the surface dry completely; moisture trapped under fresh caulk will prevent proper adhesion.
Apply painter's tape (optional)
Run two strips of painter's tape parallel to the joint, one on each side, leaving just the gap exposed. This step is optional but produces cleaner lines, especially on painted trim where a ragged edge would be visible.
Cut the tube tip and load the gun
Cut the tube tip at a 45-degree angle to create an opening roughly matching the joint width. A 1/8-inch opening suits most window and door gaps. Pierce the inner foil seal with the puncture tool on the caulk gun or a long nail. Load the tube into the gun and advance the plunger until it contacts the tube bottom.
Apply the caulk bead
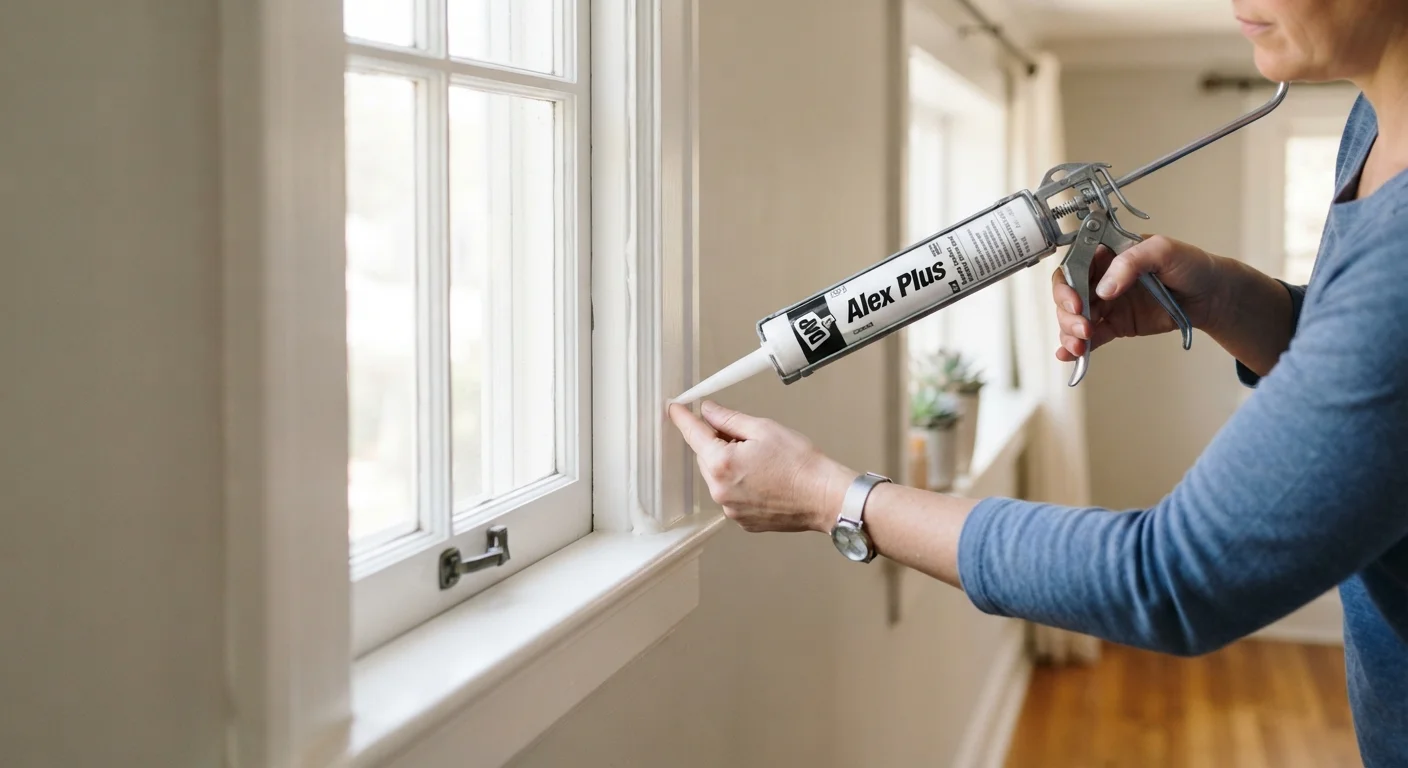
Hold the gun at a 45-degree angle to the joint with the tip touching the surface. Squeeze the trigger steadily while moving the gun at a consistent pace along the joint. Aim to fill the gap in one continuous pass. Press the release tab on the gun when you stop to cut off flow and prevent dripping.
Tool and smooth the bead
Dampen your fingertip or a caulk-finishing tool with water and run it along the bead in one smooth stroke. This presses the caulk into the joint and creates a slightly concave profile that sheds water. Work each section before the surface skins over, usually within a few minutes depending on the product.
Remove tape and allow to cure
If you used painter's tape, pull it away at a 45-degree angle while the caulk is still wet. Waiting until it cures can tear the bead edge. Allow the caulk to cure fully before exposing it to rain or moisture; cure times vary by product, so check the label.
Common mistakes and how to avoid them
Applying new caulk over old is the most frequent error. The fresh bead will not bond to weathered caulk the way it bonds to a clean surface, and the old material can flex differently, causing the new layer to crack prematurely. Always remove the old bead completely.
Cutting the tube tip too wide is another common problem. A large opening makes it difficult to control the bead size. Start with a small opening (about 1/8 inch) and widen it only if the joint is unusually large.
Skipping surface cleaning produces poor adhesion. Even a thin film of dust or oil is enough to prevent a proper bond. Wipe the joint with isopropyl alcohol and let it dry completely before loading the gun.
Caulking in very cold or very hot weather shortens cure time unpredictably and can affect adhesion. Most caulk products specify a temperature window on the label; staying between 40 and 80 degrees Fahrenheit is a safe general rule.
For context on which home repairs are straightforward DIY work and which call for a licensed contractor, the DIY vs. professional repairs guide covers the distinction in detail.