

Key Takeaways
- Air sealing around windows and doors is one of the most cost-effective ways to reduce heat loss.
- Insulating pipes in unheated spaces prevents freezing and potential burst-pipe damage.
- Gutters must be clear before winter so ice and snowmelt drain away from your foundation.
- Attic insulation levels directly affect how much heat escapes through the roof.
- Many weatherproofing tasks require only basic tools and take under an hour each.
What you will need
Why weatherproofing matters before the first freeze
Most cold-weather home damage follows a predictable pattern: small gaps, thin insulation, or deferred maintenance that would cost little to fix in fall become expensive problems in January. A burst pipe from a single overnight freeze can cause thousands of dollars in water damage. Heat escaping through an uninsulated attic or drafty door frame drives up utility bills every day the temperature drops.
Weatherproofing is not a single project. It is a set of targeted tasks, most of which a homeowner or renter with basic tools can complete in a weekend. The steps below move from the exterior inward, which is the most logical sequence for spotting problems before sealing them in. For a broader view of year-round maintenance timing, see the seasonal home maintenance checklist.
What you will need
Step-by-step weatherproofing tasks
Work through these tasks in order. Each one builds on the last, and completing exterior work first means you will not disturb any interior sealing you have already done.
Caulk gun
Applies a controlled bead of caulk to seal gaps around window frames, door frames, and utility penetrations.
Weatherstripping
Seals the movable gap between a door or window and its frame to stop drafts.
Door sweep
Attaches to the bottom of an exterior door to block the gap between the door and threshold.
Foam pipe insulation
Wraps around water pipes in unheated areas to slow heat loss and reduce freeze risk.
Expanding spray foam
Fills larger irregular gaps around pipes, wires, or structural penetrations that caulk cannot bridge.
Insulation R-value tester or ruler
Measures existing attic insulation depth so you can compare it against recommended R-values for your region.
Inspect and seal doors and windows
Close each exterior door and hold a lit candle or incense stick near the frame perimeter. Flickering indicates a draft. Do the same along window sashes and sills. Mark any leaky spots with painter's tape before you start sealing.
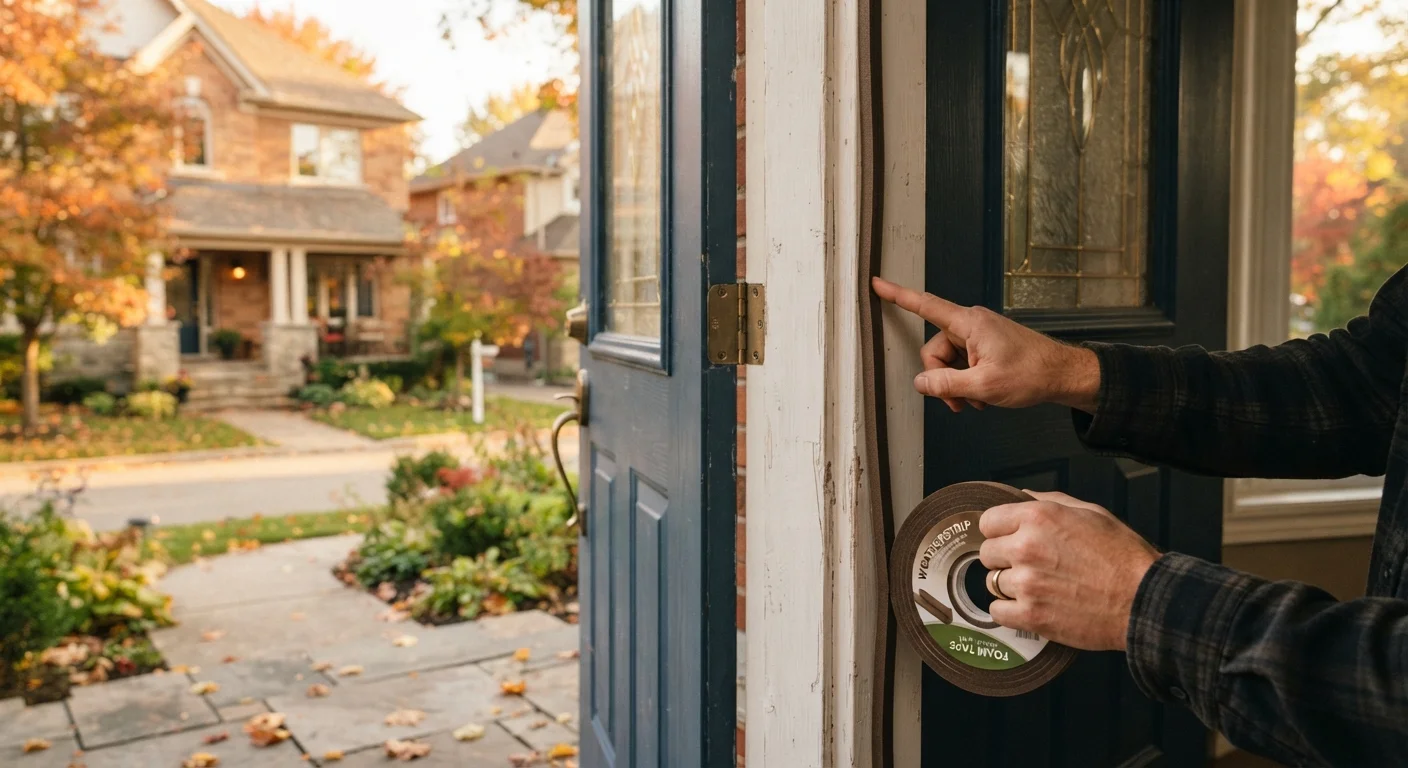
Apply fresh weatherstripping to door frames where the existing strip is compressed flat, torn, or missing entirely. For the gap at the bottom of the door, install or replace a door sweep. For window frames and the fixed perimeter of door frames, use exterior-grade caulk to fill any visible cracks or separations between the frame and the wall. A full walkthrough on technique is in our guide to caulking windows and doors.
Check attic insulation depth
Heat rises, so an under-insulated attic is one of the biggest sources of heat loss in a home. Go into the attic and use a ruler to measure how deep the existing insulation is. The U.S. Department of Energy recommends R-38 to R-60 for most attics in cold climates, which translates roughly to 10 to 16 inches of blown-in fiberglass or cellulose.
If your insulation is thin, compressed, or water-stained, adding more can make a measurable difference in comfort. Our attic insulation basics article explains insulation types and R-value in detail. Wear gloves, long sleeves, and eye protection when working around loose-fill or batt insulation.
Insulate exposed pipes
Water pipes that run through unheated spaces such as a garage, crawl space, or uninsulated basement wall are at risk of freezing when temperatures drop below 32 degrees F. Foam pipe insulation sleeves slip over pipes and close with a self-adhesive seam. Measure the pipe diameter before buying sleeves, and cut them with scissors or a utility knife to fit around elbows and joints.
Pay particular attention to pipes on exterior walls and any supply lines near the foundation. For added protection in extremely cold climates, thermostat-controlled heat tape can be wrapped under the foam on the most vulnerable runs.
Clean and inspect gutters and downspouts
Clogged gutters trap water that can freeze into ice dams, which force water under shingles and into the roof structure. Clear leaves, seed pods, and debris from the gutter channel, then flush with a garden hose to confirm downspouts drain freely. Check that downspout extensions direct water at least four feet away from the foundation.
While you have the ladder out, inspect the roof edge and flashing for lifted or missing caulk. Small separations around flashing are worth sealing now; water damage warning signs often begin at these entry points. For any work that requires walking on the roof, consider hiring a professional, since wet or icy surfaces are unsafe to walk on.
Service heating equipment and check the water heater
Replace the furnace filter if it has not been changed in the last three months, or more frequently if you have pets. A dirty filter restricts airflow and forces the system to work harder. If you have a forced-air system, check that all supply and return vents are open and unobstructed by furniture or rugs.
Drain a quart of water from the water heater's drain valve to clear sediment that accumulates at the bottom. Sediment slows heat transfer and can shorten the unit's lifespan. Our water heater maintenance guide covers this process step by step. If the heater is over ten years old or shows signs of rust or leaks, have a licensed plumber evaluate it before cold weather increases your hot water demand.
Prepare outdoor spaces and shut off exterior water
Locate the shut-off valve for your outdoor hose bibs (exterior faucets) and turn it off from inside the house, then open the exterior faucet to drain any remaining water from the line. Leaving water in an outdoor faucet line through a freeze can split the pipe inside the wall.
Drain and store garden hoses. Bring in potted plants that cannot survive frost, and cover or store outdoor furniture that is not rated for winter exposure. Our deck and porch maintenance guide covers how to protect wood surfaces through the colder months.
What to watch for after the first cold snap
Once temperatures drop, do a quick walk-through of the spaces you worked on. Check pipe insulation for any gaps that appeared when the foam shifted. Feel along door frames on a cold morning for drafts you missed during your initial inspection. Look at the attic hatch for any condensation on the underside, which can indicate warm indoor air is still finding a path through.
Moisture problems that surface during or after winter are often traced back to pre-existing gaps. Review the water damage warning signs article if you notice new stains on ceilings or walls after a freeze-thaw cycle, and consult a licensed contractor if the source is not immediately clear. Similarly, if your basement shows new dampness, the basement waterproofing guide can help you identify whether the cause is surface drainage or something deeper.