

Key Takeaways
- Multi-use items reduce pack weight more than cutting individual gear pieces one at a time.
- Matching gear to your specific trip type prevents packing for conditions you will never face.
- A gear audit before every trip removes items carried out of habit rather than need.
- Pack weight distribution affects comfort and stamina on long days of hiking or travel.
- Layering systems outperform single heavy garments in versatility and total weight.
What you will need
Why outdoor packing differs from standard travel packing
Most general packing advice assumes you will be near a store, a laundry, or a hotel supply closet. Outdoor adventure travel removes those safety nets. On a three-day backcountry trip, there is no front desk and no pharmacy two blocks away. Every item you bring must justify its weight, and every item you forget has to be improvised or done without.
The goal is not the lightest possible pack at any cost. It is a pack where nothing is dead weight: where each item either serves a single purpose you will definitely need, or serves multiple purposes so well that it replaces two or three other things. For a broader look at how this fits into your overall packing approach, see our end-to-end packing resource.
What you will need
How to build your gear list efficiently
Follow these steps before your next outdoor trip to cut dead weight and make sure nothing important stays home.
Define your trip parameters before touching any gear
Write down the number of nights, the terrain type, the expected temperature range, and whether you will have access to resupply points. These four variables determine almost everything else. A one-night car-camping trip and a five-day ridge walk have almost nothing in common from a gear standpoint, so do not use the same list for both.
Draft a categories-first list, not an items-first list
Start with categories: shelter, sleep, clothing, water, food and cooking, navigation, safety, hygiene, and repair. Fill in one item per category before adding any secondary items. This prevents the common error of packing six clothing items before remembering you have no water treatment method.
Weigh everything before it goes in the bag
Use a kitchen or postal scale to record the weight of each item. Add them up. Most day hikers do well under 20 pounds total; most backpackers aim for a base weight (everything except food and water) under 20 pounds. If your total is well above those ranges, go back to your list and look for items you can replace with lighter alternatives or eliminate entirely.
Apply the multi-use test to your clothing
Clothing is the category where most outdoor packers carry too much. A merino wool base layer works as a sleep layer and a mid-layer in cold temperatures. A rain jacket doubles as a wind shell. A bandana covers a dozen camp tasks. Ask whether each clothing piece does more than one job. If it does only one thing, consider whether a different piece could do both.
Pack by zone and test the load before your trip
Place heavy items (food, water, shelter) close to your back and centered between your shoulder blades and hips. Lighter items go toward the outside and top. Put frequently accessed items (snacks, rain gear, map) in hip belt pockets or the top lid. Then put the full pack on and walk around for ten minutes. Discomfort during that test is much easier to fix at home than on day two of a trail.
Do a final audit the night before you leave
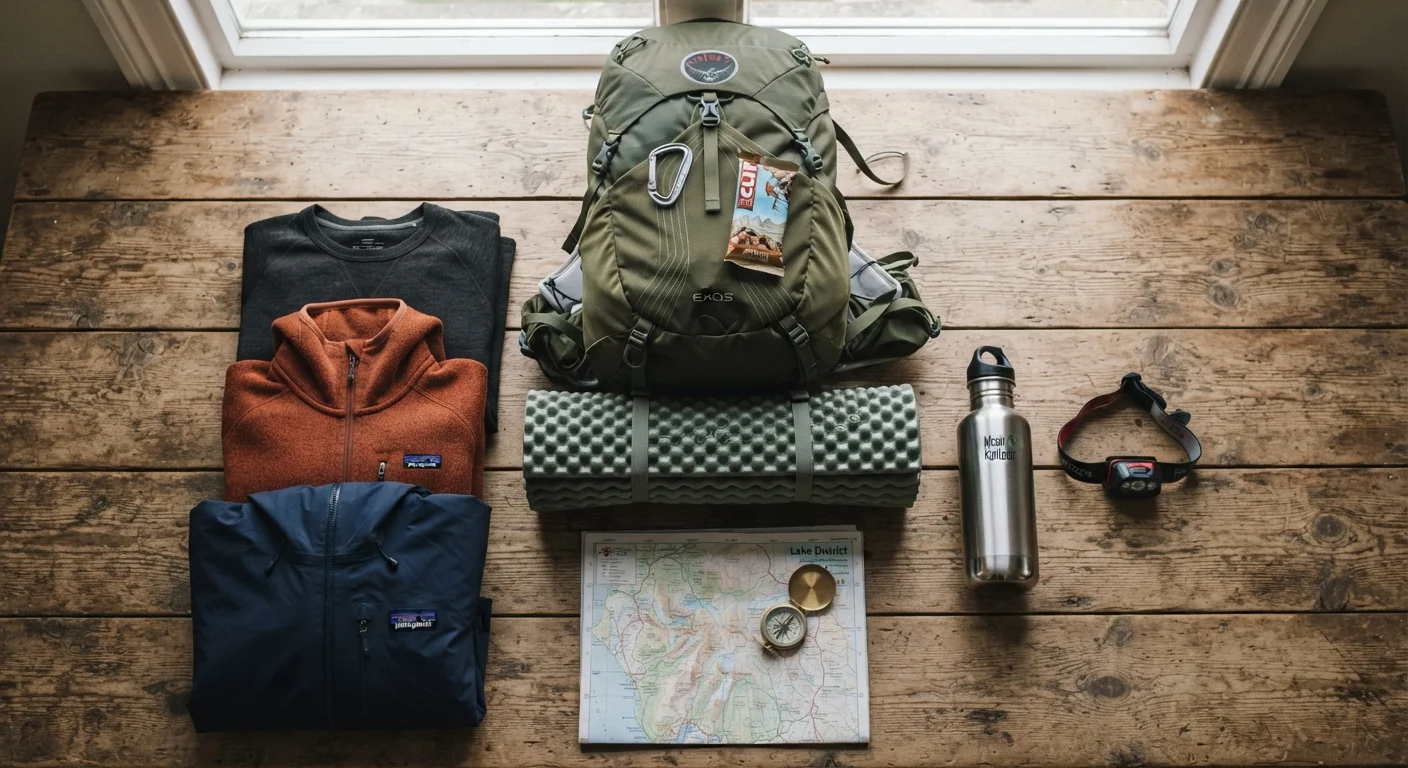
Lay everything out on a flat surface. Go through your categories list one more time. Remove anything that did not make the original justified list but crept in during packing. Common late additions that rarely earn their place: extra shoes beyond the pair on your feet, physical books over 200 pages, full-size toiletry bottles, and any clothing item added as a "just in case" without a specific scenario in mind.
Common mistakes and how to avoid them
Two mistakes account for most overloaded packs. The first is packing for worst-case conditions across every possible scenario, even when the odds of most of them are low. Bring gear matched to the most likely conditions on your specific route, with one reliable contingency layer for genuine weather risk.
The second is carrying redundant items out of comfort or habit. Two fire-starting methods make sense; three flashlights usually do not. Run each item through a simple question: if you left this behind and needed it, could you manage safely without it? If the answer is yes for most conditions, leave it.
Cold-weather trips add extra complexity because insulation layers stack up fast. The layering strategies covered in packing light for cold weather apply directly to outdoor adventure packing and are worth reviewing before any shoulder-season or alpine trip.
Multi-use gear compounds savings
Swapping one single-purpose item for a multi-use alternative might save only two ounces. But making that swap across five or six categories can remove a pound or more from your total load. Small substitutions across categories add up faster than finding one single heavy item to cut.
Safety-critical items are non-negotiable regardless of weight. Navigation tools, a basic first aid kit, emergency shelter (even a lightweight bivy or emergency blanket), and a way to purify water should always make the cut. For more on staying prepared in the field, see travel safety fundamentals.
Safety gear is not optional weight
No matter how much you want to trim your pack, do not remove items that address genuine safety risk: a means of navigation (map and compass, not just a phone), water purification, emergency shelter, and a first aid kit sized to your group and trip length. These items exist for low-probability, high-consequence situations, and their weight is justified by that math alone.