

Key Takeaways
- Flushing sediment from the tank once a year improves efficiency and reduces strain on the heating element.
- Testing the pressure relief valve annually helps you catch a critical safety component before it fails.
- Replacing the anode rod every three to five years is the single most effective way to prevent tank corrosion.
- Insulating older tanks and pipes can reduce standby heat loss and lower energy costs.
- Catching warning signs early, such as rusty water or rumbling sounds, gives you time to plan repairs rather than face an emergency.
Why water heater maintenance matters
A conventional tank water heater has an average service life of eight to twelve years. Most units fail earlier than they should because they receive no regular attention. Sediment builds up, a sacrificial rod corrodes away, and a slow leak goes unnoticed until the tank lets go entirely. The repair bill for water damage to a floor or wall can far exceed the cost of a replacement unit.
Maintenance also affects operating costs. A tank coated internally with sediment has to run longer to heat the same volume of water. The tasks below are not complex; most take under an hour and require only basic tools. A good starting point is working water heater checks into your broader home upkeep schedule. See our quarterly home maintenance checklist for a practical framework that fits these tasks into the calendar year.
Core maintenance practices
The practices below apply to standard tank-style water heaters, both gas and electric. Tankless and heat-pump models have their own service requirements; consult the manufacturer's documentation for those units.
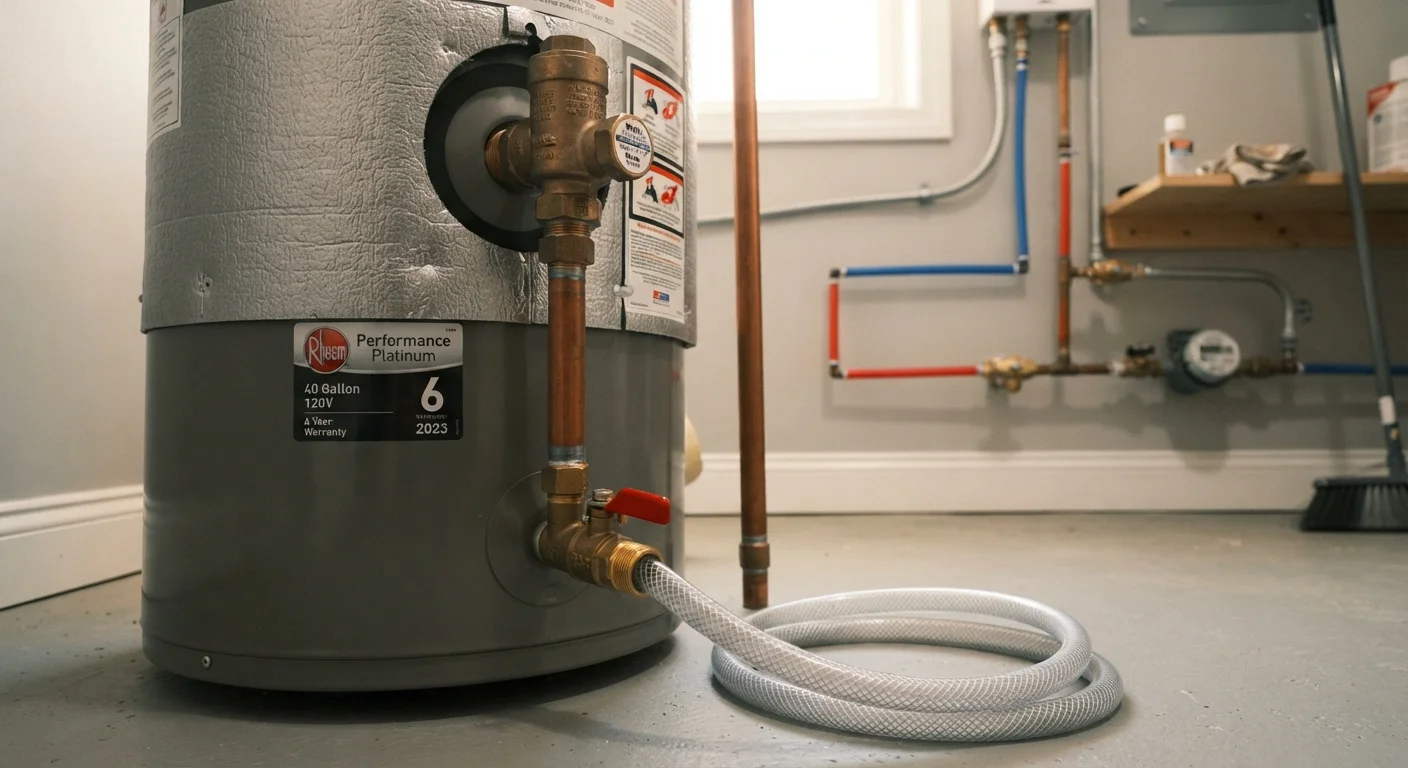
Flush the tank to remove sediment once a year
Minerals in tap water settle to the bottom of the tank over time. A heavy layer of sediment forces the burner or heating element to work harder and can crack the glass lining of the tank from uneven heat. Annual flushing removes this buildup before it becomes a problem.
Test the temperature and pressure relief (TPR) valve annually
The TPR valve is a safety device that releases water if pressure or temperature inside the tank exceeds safe limits. A valve that is stuck open wastes energy; one that is stuck closed is a safety hazard. Testing it once a year confirms it moves freely.
Inspect and replace the anode rod on schedule
The anode rod is a metal rod, usually magnesium or aluminum, that corrodes in place of the tank lining. Once it is depleted, the tank itself begins to corrode from the inside. Replacing it every three to five years, or sooner in areas with aggressive water chemistry, is the most direct way to extend tank life.
Set the thermostat to 120 degrees Fahrenheit
Settings above 120 F accelerate mineral buildup and increase the risk of scalding. Settings below 120 F can allow certain bacteria to multiply in standing water. The 120 F mark balances safety, efficiency, and comfort for most households.
Insulate the tank and nearby pipes on older units
Older water heaters lack the insulation levels built into current models. A fiberglass or foam insulation blanket reduces standby heat loss, meaning the burner or element runs less often to maintain temperature. Insulating the first few feet of hot and cold pipes reduces heat loss at the connection points.
Quick actions you can take today
If your water heater has not been serviced in over a year, a few targeted steps can make an immediate difference. These do not require shutting down the unit or specialized tools.
If you notice rusty water, a rotten-egg smell, or pooling water around the base of the tank, stop and call a licensed plumber. Those signs indicate problems that go beyond routine maintenance. Similarly, any work involving the gas supply line or the unit's electrical connections should be handled by a qualified professional. Home safety systems nearby deserve the same attention: our carbon monoxide detector maintenance guide covers another safety check worth doing at the same time.
Reading the signs that maintenance is overdue
Water heaters do not usually fail without warning. Rumbling or popping sounds during heating cycles point to heavy sediment on the tank floor. Water that runs slightly brown or has a metallic taste suggests internal corrosion. A tank that struggles to maintain temperature, or one where hot water runs out faster than it used to, may have a failing heating element or a thermostat drifting out of range.
A corroded or damp patch on the outside of the tank, especially near welded seams or fittings, is a more serious signal. Minor weeping around a valve can sometimes be corrected by replacing the valve; a leak from the tank body itself generally means the unit needs to be replaced. Consistent maintenance records help you judge whether a repair is worth pursuing or whether the unit is near the end of its useful life. Keeping good records of home systems pays off in other ways too: the same discipline applies to major appliances, rooftop systems, and vehicles. Our pre-winter weatherproofing guide is another place where early inspection prevents late-season emergencies.