

Key Takeaways
- Skipping surface prep is the leading cause of peeling, streaking, and uneven paint coverage.
- Cleaning walls before painting is not optional; grease and dust prevent paint from bonding properly.
- Patching holes and sanding before priming gives you a surface the topcoat can actually hold onto.
- Priming is required whenever you are covering a dark color, new drywall, or stained patches.
- Tape and drop cloths protect trim and floors far more reliably than a careful hand alone.
- Letting each prep step dry fully prevents bubbling and adhesion problems later.
Why preparation matters more than technique
Most homeowners blame a bad paint job on the paint itself or on a shaky hand at the roller. The real culprit is almost always what happened before the first drop of color went on the wall. Paint is a thin coating; it cannot hide a dirty, uneven, or unprepared surface. Whatever is underneath will telegraph through, often within weeks.
A room that gets a proper prep job looks better and holds up longer. The steps below are not optional stages you can shortcut on a weekend project. They are the actual work. The painting itself, once prep is done right, goes quickly.
If you are weighing whether to paint at all, see the guide on accent walls for help deciding where a color change will genuinely improve a room.
Preparing the room
Clear as much furniture out of the room as possible. For pieces too heavy to move, push them to the center and cover them with drop cloths. Lay drop cloths or rosin paper across the entire floor, not just directly under the roller area. Paint spatters travel farther than most people expect.
Remove outlet covers and switch plates. Paint over them looks sloppy and makes future electrical work harder. Store the hardware in a small bag taped to the outlet box so nothing gets lost.
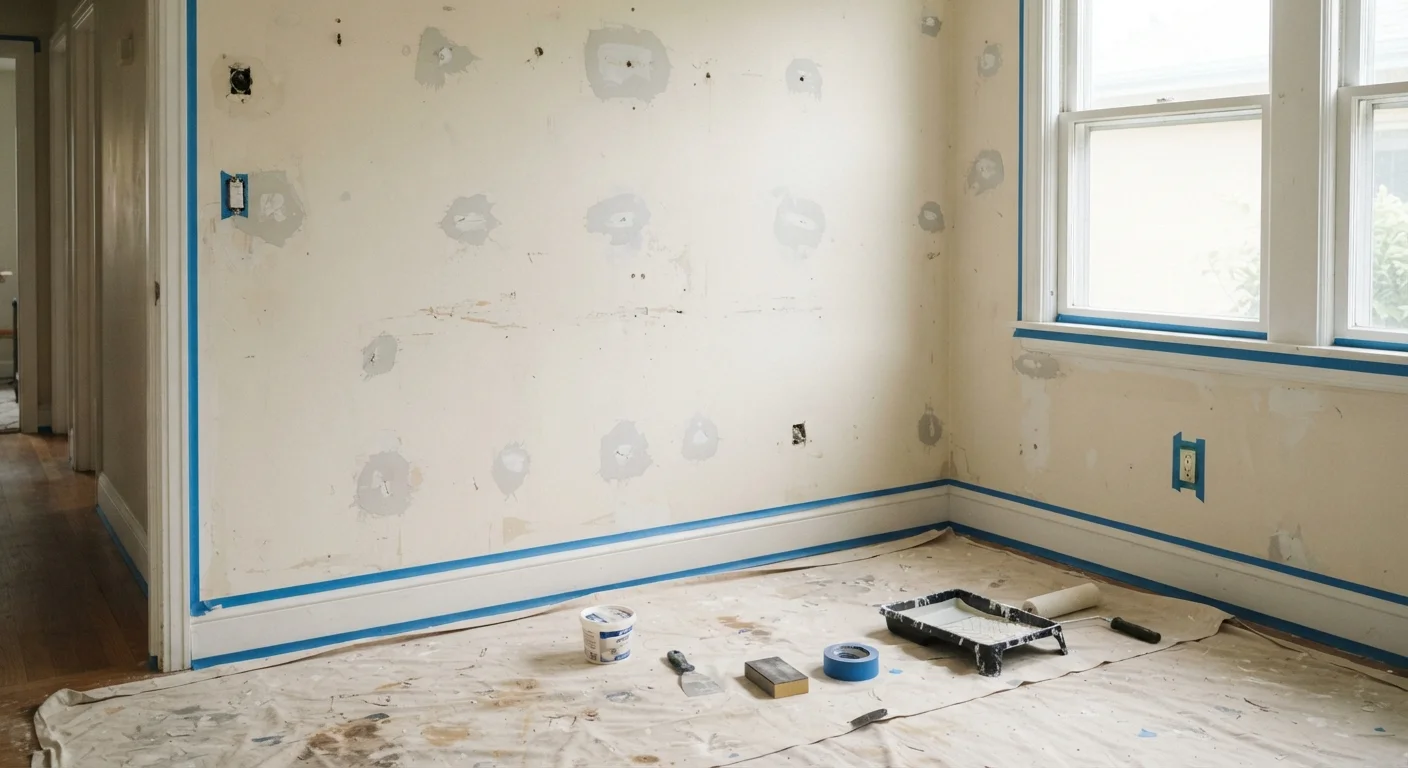
Apply painter's tape to the tops of baseboards, around door and window casings, and along any trim you want to protect. Press the edge of the tape firmly with a putty knife or your fingernail so paint cannot bleed underneath. Tape is worth doing slowly the first time rather than redoing after the paint dries.
Remove all hardware and outlet covers before taping or painting
Painting around hardware produces messy edges and makes it impossible to cut in cleanly. Covers that get painted over are harder to remove and look unfinished.
Wash walls with a mild detergent solution before any other prep step
Grease, dust, and soap film prevent paint from bonding and cause peeling within months. Clean walls give primer and topcoat a surface they can actually stick to.
Inspect walls under raking light to find every defect before patching
Normal overhead lighting casts no shadows and hides shallow dents and cracks. Fixing defects you missed before priming means sanding and repriming after the fact.
Let spackling compound dry fully before sanding or priming
Patches that look dry on the surface can still hold moisture inside. Sanding or painting over wet compound causes bubbling and adhesion failure in the finished coat.
Apply primer to all repaired spots, new drywall, and stained areas
Bare spackle, fresh drywall, and old stains absorb topcoat differently from the rest of the wall, leaving visible dull patches or bleed-through in the finished color.
Remove painter's tape while the topcoat is still slightly tacky
Fully dried paint bonds to tape, and pulling the tape after the film cures can tear the paint edge or lift the topcoat in strips along the trim.
Cleaning and repairing the walls
Walls collect more grime than they appear to. Kitchens accumulate grease; bathrooms collect soap film; living areas collect dust and fingerprints. Any of these will block adhesion. Wash walls with a mild solution of dish soap and warm water, working from top to bottom. Rinse with clean water and let the surface dry completely before moving on.
After cleaning, inspect the walls in raking light, which means holding a work light or flashlight at a low angle to the surface. This reveals dents, nail holes, and hairline cracks that normal overhead lighting hides.
Fill holes and dents with lightweight spackling compound. For cracks wider than about 1/8 inch, use a setting-type joint compound and embed mesh tape before applying the compound. Let patches dry fully, then sand smooth with 120-grit sandpaper. Feather the edges so the patch blends into the surrounding surface. Wipe away dust with a lightly dampened cloth.
Priming: when it is required and when it helps
Primer is a dedicated bonding coat. It is not interchangeable with an extra layer of topcoat paint. You need primer in four situations: new drywall (which is porous and will absorb paint unevenly), walls with stains from water, smoke, or markers, surfaces you have just patched, and any situation where you are applying a lighter color over a significantly darker one.
For existing walls in good condition that you are repainting with a similar color, a quality paint-and-primer product can be enough. When in doubt, spot-prime repaired areas at minimum, since bare spackle absorbs topcoat differently from the surrounding wall and will show as dull patches.
Apply primer with the same tool you plan to use for the topcoat, a brush for cut-in areas and a roller for flat surfaces. Let it dry according to the manufacturer's label before sanding lightly with 220-grit paper and wiping the dust away.
Common mistakes that undermine good prep
Rushing the dry time between steps is the most common error. Spackle that looks dry on the surface may still hold moisture inside, and paint applied over it can bubble or crack. Give patches a full 24 hours in a normally ventilated room, longer in humid conditions.
Using the wrong tape is another frequent problem. Standard masking tape is not painter's tape; it leaves adhesive residue and can pull existing paint off when removed. Use low-tack painter's tape, and remove it while the new paint is still slightly tacky rather than fully cured. Waiting too long causes the tape to bond to the dried paint film and pull it away in strips.
Finally, skipping a final dust wipe before opening the paint can is a small step that matters. Sanding creates fine particles that settle on the surface and end up trapped in the finish. A tack cloth or lightly dampened microfiber cloth removes them in minutes.
For renters, confirm with your lease what is allowed before buying paint. The renter decorating guide covers what changes are typically reversible and what can cost you a security deposit.