

Key Takeaways
- Visual separation, not walls, is what makes a shared workspace feel distinct and functional.
- Consistent lighting and a defined desk zone train your brain to shift into work mode.
- Acoustic control matters as much as visual privacy in open living spaces.
- Cable management and storage choices directly affect how quickly you can transition the space.
- Furniture placement affects focus and stress levels, so position your desk with intention.
What you will need
Why separation works without walls
A dedicated office room works partly because it puts a physical door between you and the rest of the house. In a shared space, you replicate that effect through visual boundaries, consistent routines, and deliberate furniture placement. How furniture placement affects your mood and focus is relevant here: sightlines and spatial flow shape concentration even when the room has no walls.
The goal is a zone that feels clearly distinct to your eye and body when you sit down to work, and equally clearly part of the living space when you step away from it. Achieving that requires four things: a defined footprint, controlled light, managed sound, and a storage plan that lets the space convert quickly.
What you will need
Setting up your workspace
Follow these steps in order. Each one builds on the last, so skipping ahead tends to create problems that require backtracking.
Map your available footprint
Measure every candidate area: a bedroom corner, an alcove, the end of a living room wall, or the space behind a sofa. A functional desk setup needs a minimum of roughly 48 inches of width and 24 inches of depth for the desk surface alone, plus enough clearance behind the chair to push back and stand up (typically 36 inches).
Mark the candidate areas on a rough sketch and note what is adjacent to each: a window, a high-traffic path, a TV, or a door. Proximity to a window gives natural light but may introduce glare on your screen. A high-traffic path nearby creates constant peripheral motion, which tires concentration.
Position your desk with sightlines in mind
Face the desk toward a wall or your divider rather than toward the main seating area. This limits the peripheral visual activity you see while working and gives video-call participants a cleaner background. Avoid placing your back to a doorway if possible: the unconscious awareness of an open approach path behind you increases low-level stress over a full workday.
If natural light is available, position the window to your side rather than directly in front of or behind your monitor. Front-facing windows cause screen glare; back-facing ones create a bright halo that makes you appear dark on video calls.
Create a visual boundary
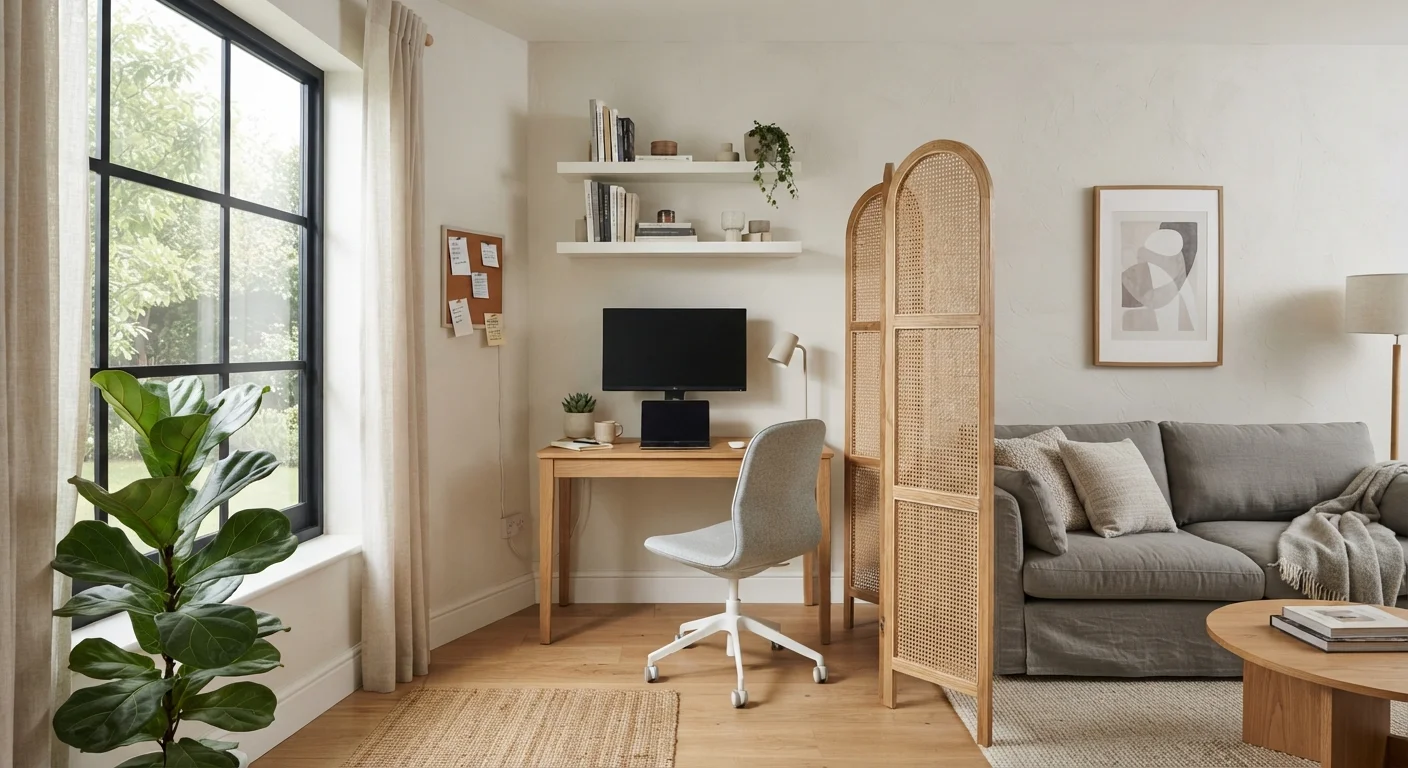
A freestanding bookshelf, a folding screen, a pegboard panel, or a tall plant arrangement can mark the edge of your work zone without permanent construction. The boundary does not need to be opaque to be effective; even a low shelf at desk height signals a zone change.
If you use a bookshelf as your divider, place work-related items on the side facing the desk and personal or decorative items on the living-space side. This small distinction reinforces the mental separation between modes.
Set up task lighting
Your desk needs its own light source independent of the room's ambient lighting. An adjustable task lamp placed to the side of your monitor (not behind it) reduces screen glare and eye fatigue. Choose a lamp with at least 400 lumens output and, if budget allows, an adjustable color temperature so you can shift from cooler work light to warmer evening light without changing fixtures.
Keep the lamp's light cone focused on the desk surface and your work materials rather than aimed at the wall behind you. A diffuse, even spread at desk level is more comfortable over long sessions than a concentrated spotlight.
Manage cables and storage for quick conversion
Run power cables along the baseboard or desk leg using adhesive cable clips or a plastic raceway. Keep only daily-use items on the desk surface. Supplies that are used less than once a week belong in a drawer, a shelf, or a closed bin behind the divider.
A power strip with individual switches lets you cut power to all work equipment at the end of the day with one action rather than unplugging each item. This both reduces phantom power draw and acts as a physical end-of-day ritual that supports the boundary between work and personal time.
Use lighting as a mental switch
Turning on your dedicated task lamp at the start of each workday and off at the end is a simple habit that signals your brain to shift modes. A lamp with a warm-to-cool color temperature dial lets you run cooler, more alert light (around 4000K) during work hours and warmer light in the evening without buying two separate fixtures.
Check weight limits before wall mounting
Wall-mounted shelves, monitor arms, and pegboards must be anchored into studs or with appropriate hollow-wall fasteners rated for the intended load. A shelf that pulls free can damage the wall and injure anyone nearby. If you are unsure about your wall type or fastener ratings, consult a handyman before proceeding.
Ergonomics cannot be skipped in a shared space
A makeshift desk height or an awkward monitor angle causes real physical strain over time. Before finalizing your desk position, confirm that your elbows rest at roughly 90 degrees when typing, your monitor top sits at or just below eye level, and your feet rest flat on the floor or a footrest. These adjustments matter regardless of how small the space is.
Managing noise and visual privacy in open layouts
Sound is the problem most shared-space setups underestimate. A video call in a living room bleeds into every other activity in that room, and ambient TV noise bleeds back into your call. If your household has overlapping schedules, acoustic control is worth treating as a first-class concern rather than an afterthought.
Heavy curtains or a fabric-wrapped room divider absorb more sound than hard surfaces. Placing your desk against a bookshelf-style divider gives you both visual separation and some mass to block noise. For calls, a headset with a close-talk microphone reduces the ambient sound your colleagues hear without requiring any permanent installation.
Visual privacy matters too, especially on video calls. Position your camera so the background shows the back of your divider or a plain wall rather than your entire living room. A small acoustic panel hung at desk height behind your monitor can double as a camera backdrop.
For broader context on how open versus closed layouts affect everyday noise and comfort, see how open and defined floor plans compare for real households.